
Quick Start
This page takes you from installing the software to seeing your first CAN frame.
1. Install the software
- Get the installer from Download and run it.
- Open BeiniLink. Setup also installs
beinilink-cliand adds it to your userPATH.
2. Wire the device
- Connect the device to your PC over USB.
- Connect CAN_H, CAN_L and GND to the device under test, see Wiring notes.
- Check that the bus is terminated and the device under test is powered.
3. Send and receive your first CAN frame
Step 1: Open a project. Download can-classic.blproj, open it with File → Open, and save a copy to your own folder.
Step 2: Select the device. Select the device on the Home tab. Click Refresh if none is found.

Home tab: Start and Stop on the left, device selection and Refresh on the right
Step 3: Check the bitrate. In Bus Configuration, click the edit button on the CAN card and check that the bitrate matches the device under test. The example uses 500 kbit/s.
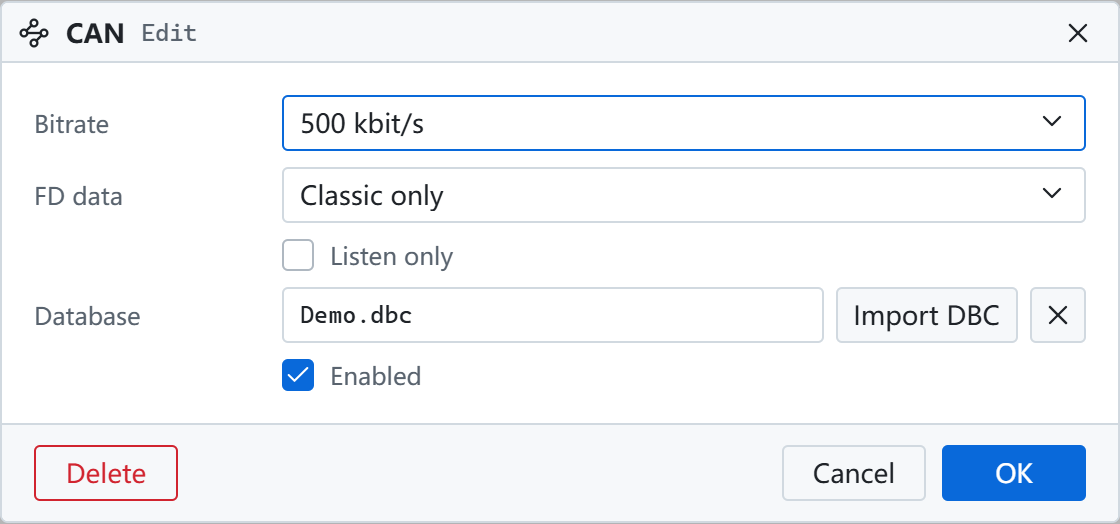
CAN interface settings: bitrate, FD data phase, listen-only mode and database
Step 4: Start measurement. Click Start and confirm in Information that the interface opened.
Step 5: Open the windows. Open Trace and CAN Sender from the View tab.

View tab: Trace and CAN Sender are here
Step 6: Send a frame. In CAN Sender, enter the ID, length and data, then click Send on that row. For periodic sending, change the trigger to periodic and set the period.

CAN Sender: each row is one frame, and you can add several (sample data)
Step 7: Check the result. Confirm the frame in Trace. TX marks sent frames and RX marks received frames.
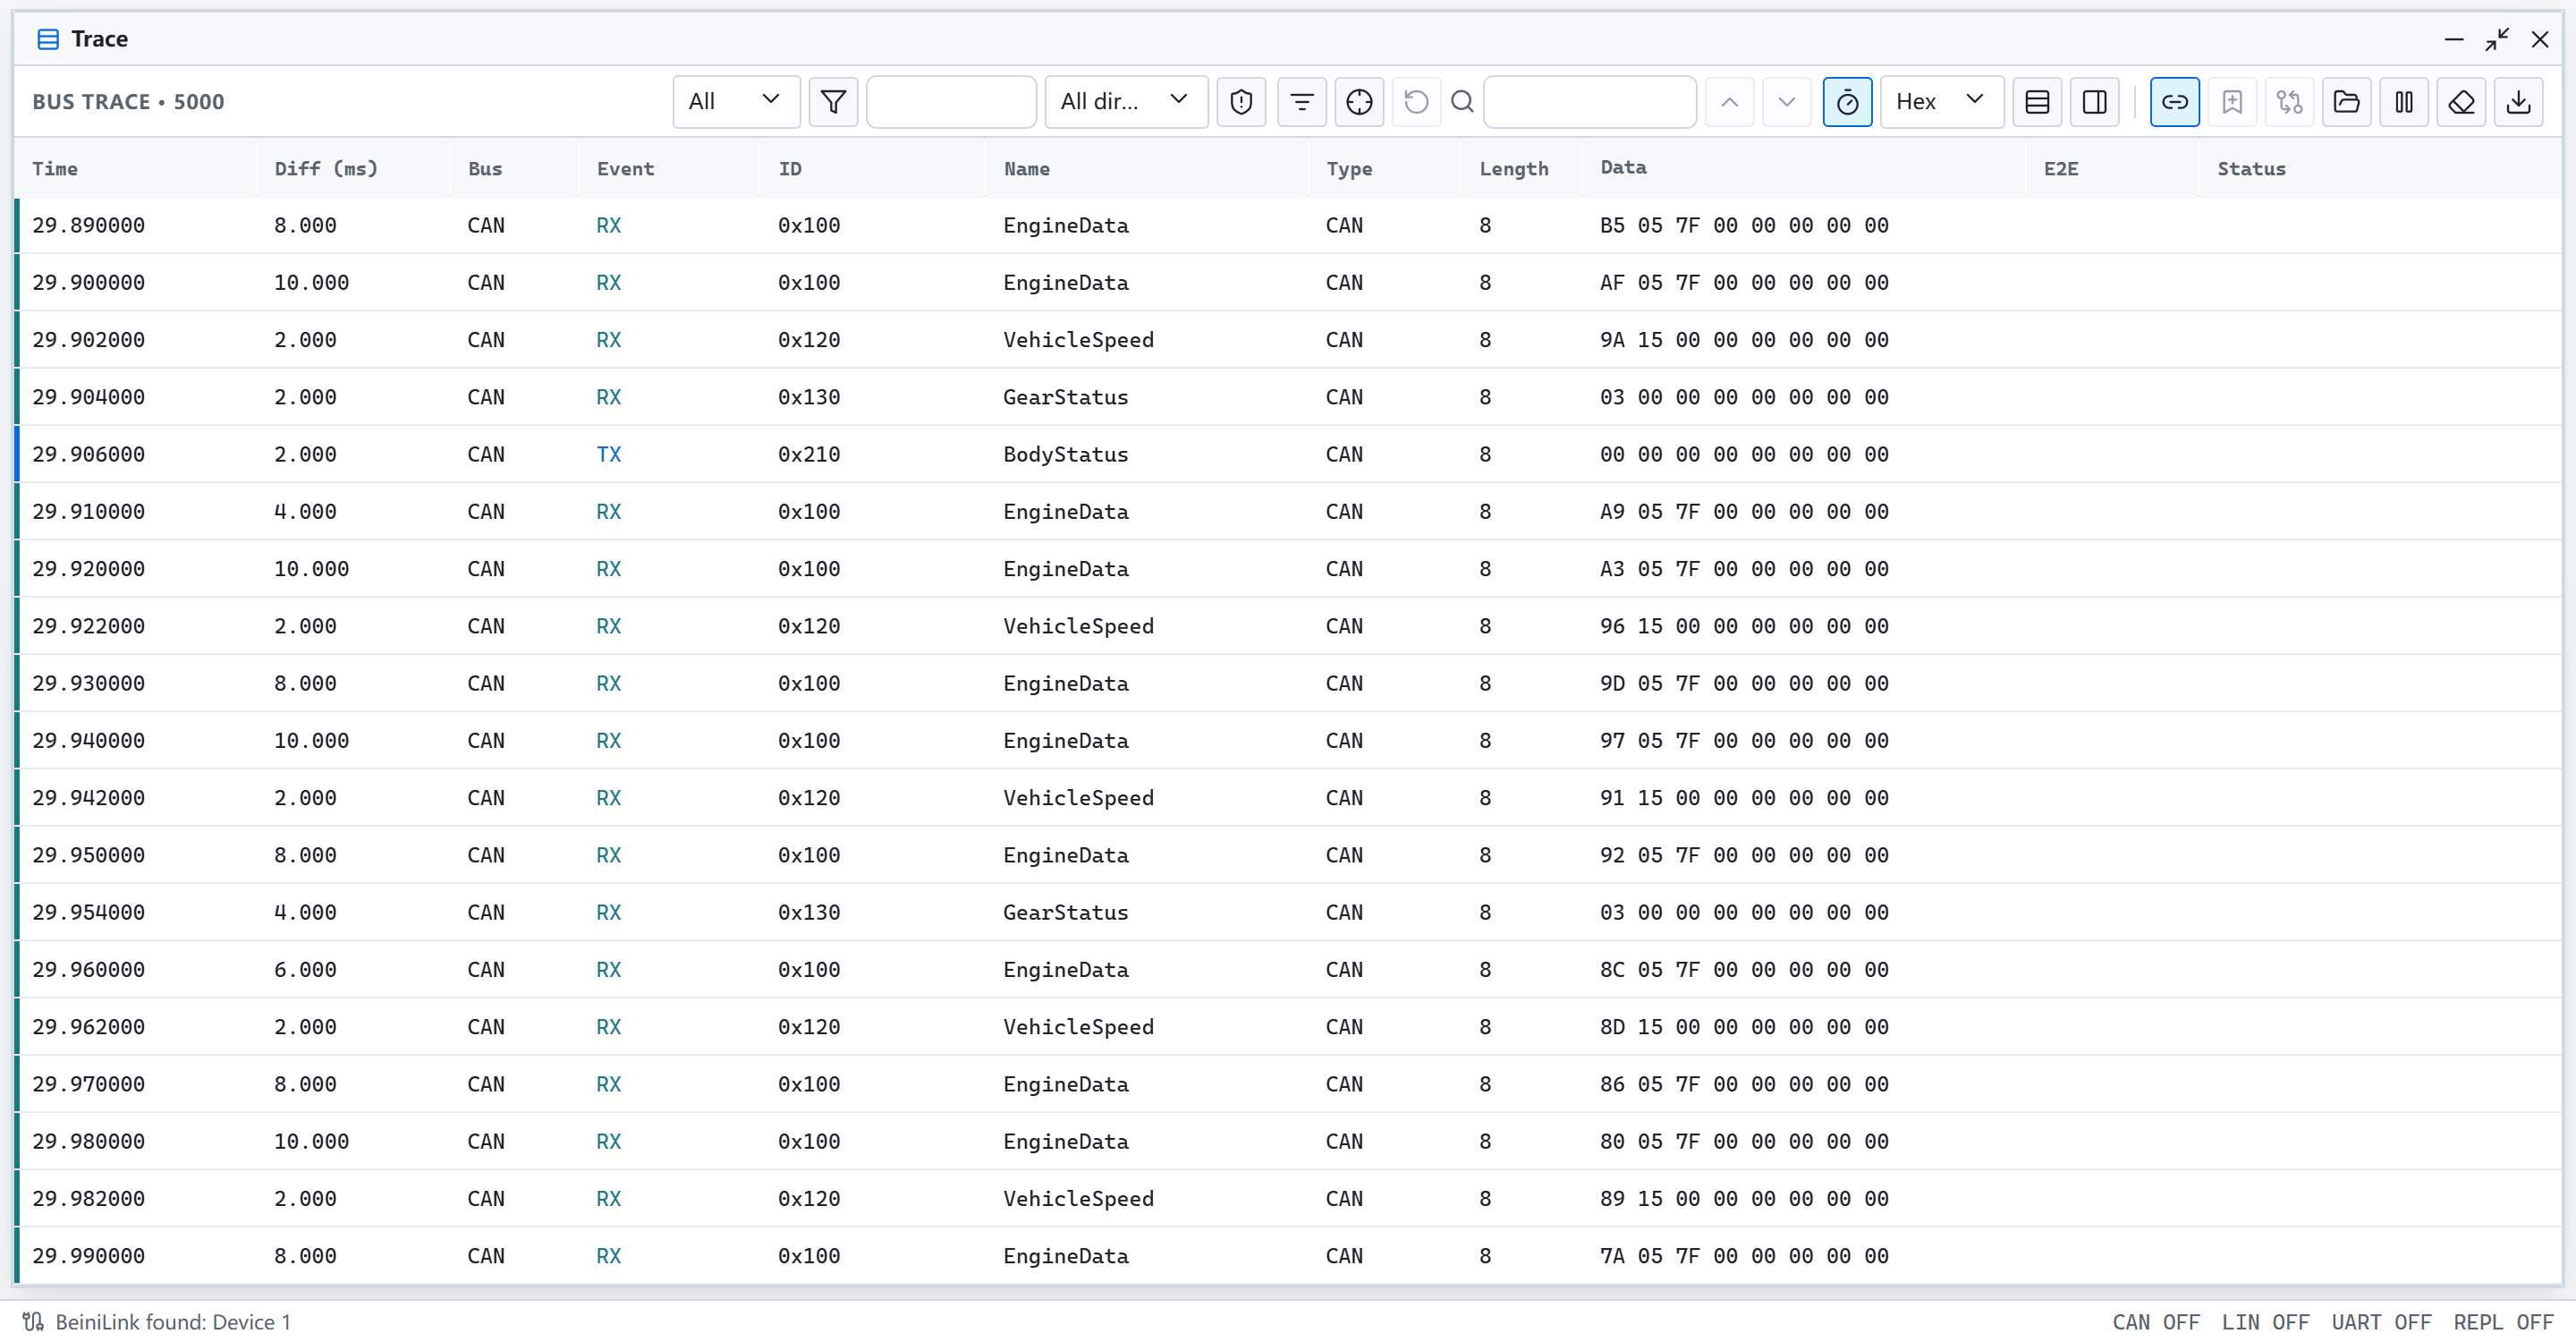
Trace: shows sent and received frames, with message names once a DBC is loaded (sample data)
If nothing is sent
An ACK error in Trace means no node acknowledged the frame. Check that the device under test is powered, on the same pair of wires, and using the same bitrate. See Troubleshooting for more.
4. Try LIN
- Open lin-master.blproj. It uses 19200 baud.
- Connect the LIN signal and reference ground, and check the network supply.
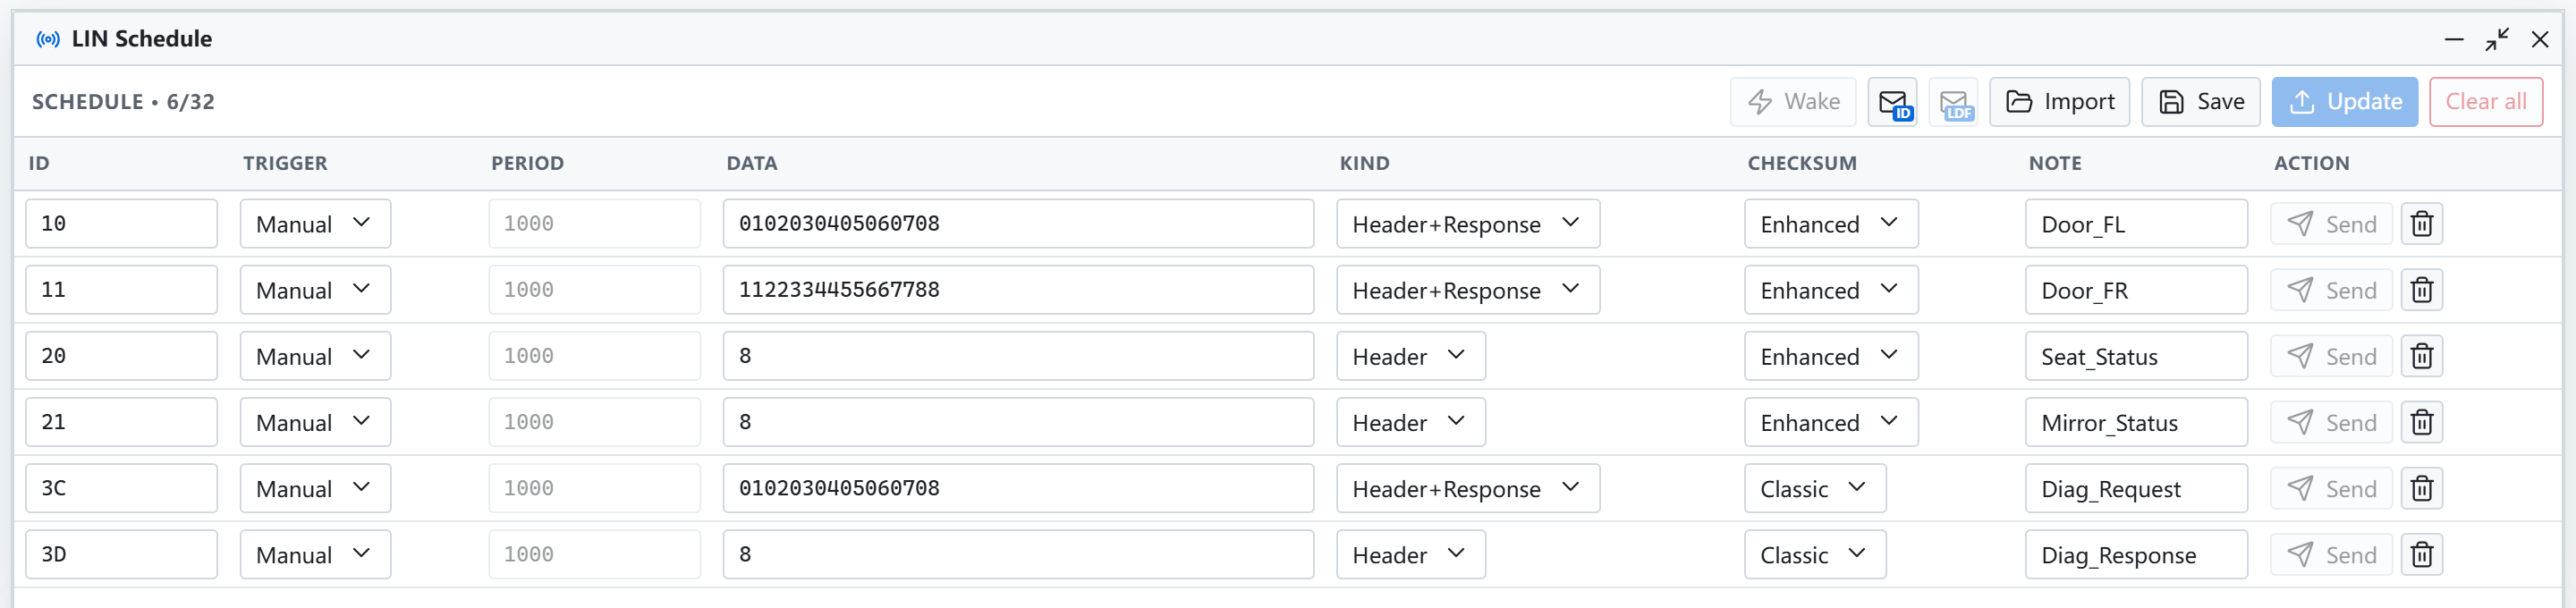
- Click Start and send a header manually from View → LIN Schedule.
See LIN Master and Slave for details.
5. Next steps
- Load a DBC or LDF to view data by signal name: CAN and CAN FD
- Record logs: Logging and File Names
- See everything BeiniLink does: Features